Note: Before we start, it’s important to download and set up everything on a desktop computer or a laptop first. The mobile app is great, but importing Vaults requires more steps and work, so it’s recommended to do everything from a desktop operating system and then synchronize your Vaults to your mobile or tablet device.
Creating or importing several Vaults in Obsidian is very easy. Typically, the process is the same for all Vaults: You import the files, you accept to enable the community plugins and trust the Vault, and you’re good to go. Simple as that.
Download and install Obsidian

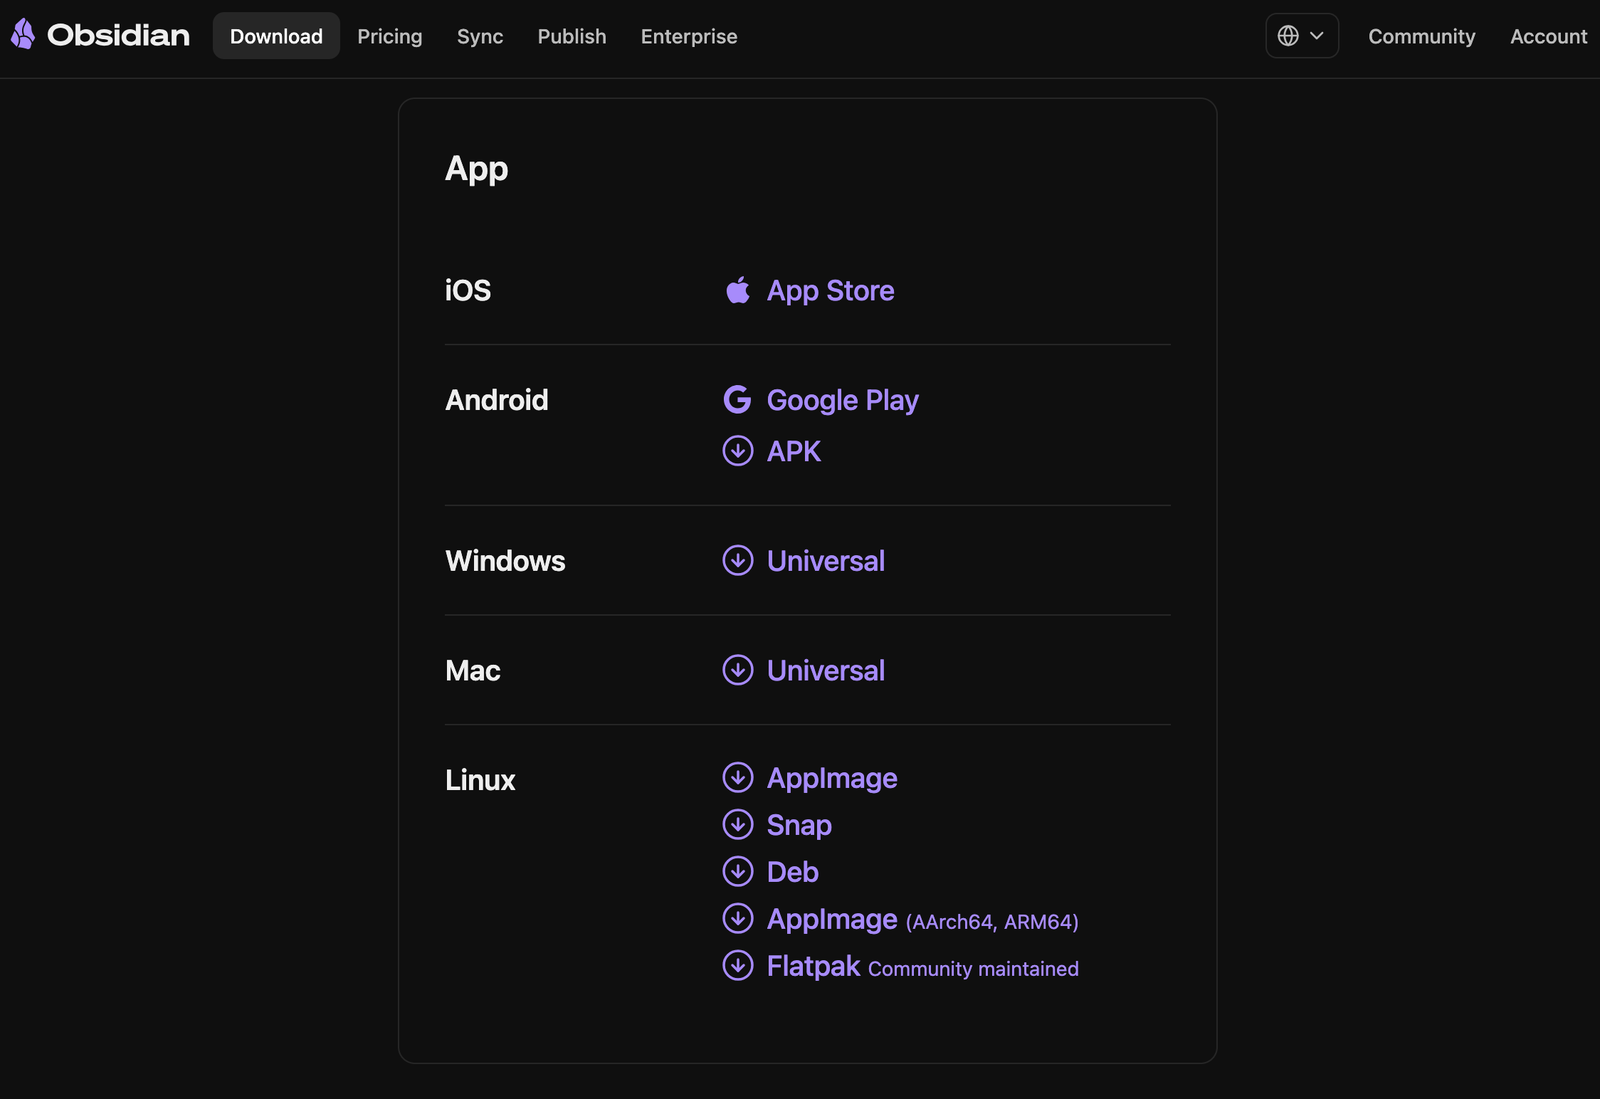
Visit the Obsidian.md website and download the latest version for Windows, macOS, or Linux. The Android version is available on the Google Play Store and in the Apple App Store for iOS. On Windows, installing Obsidian is as easy as clicking “Next” all the time. On macOS, double-click, drag Obsidian’s icon to the “Applications” folder, and you’re good to go.
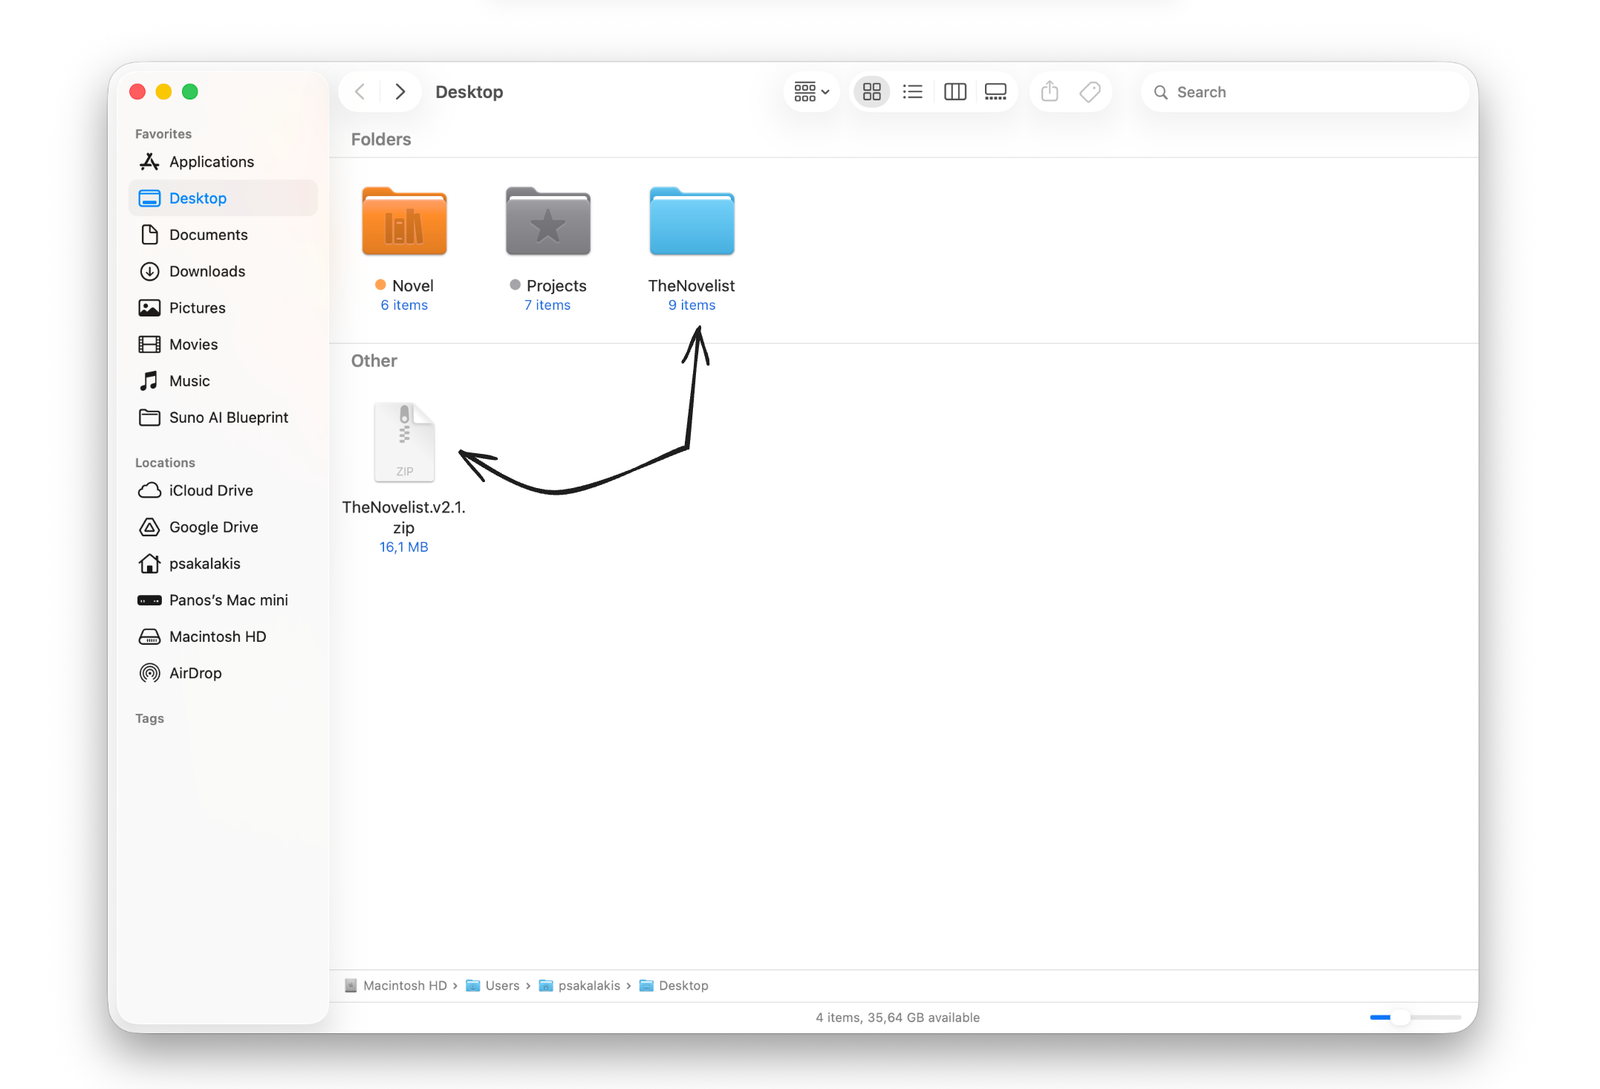
Download and unzip ‘The Novelist’ Vault
Import ‘The Novelist’ Vault

If this is the first time installing Obsidian, you’ll see the options: “Create a new Vault” and “Open folder as vault“. Choose the second option, and select ‘The Novelist‘ folder that you unzipped earlier.
Enable the community plugins

Because ‘The Novelist’ uses third-party plugins and themes, a pop-up window will be displayed asking you to enable the community plugins and trust the vault. It’s important to accept and enable them if you want the vault to work as intended.
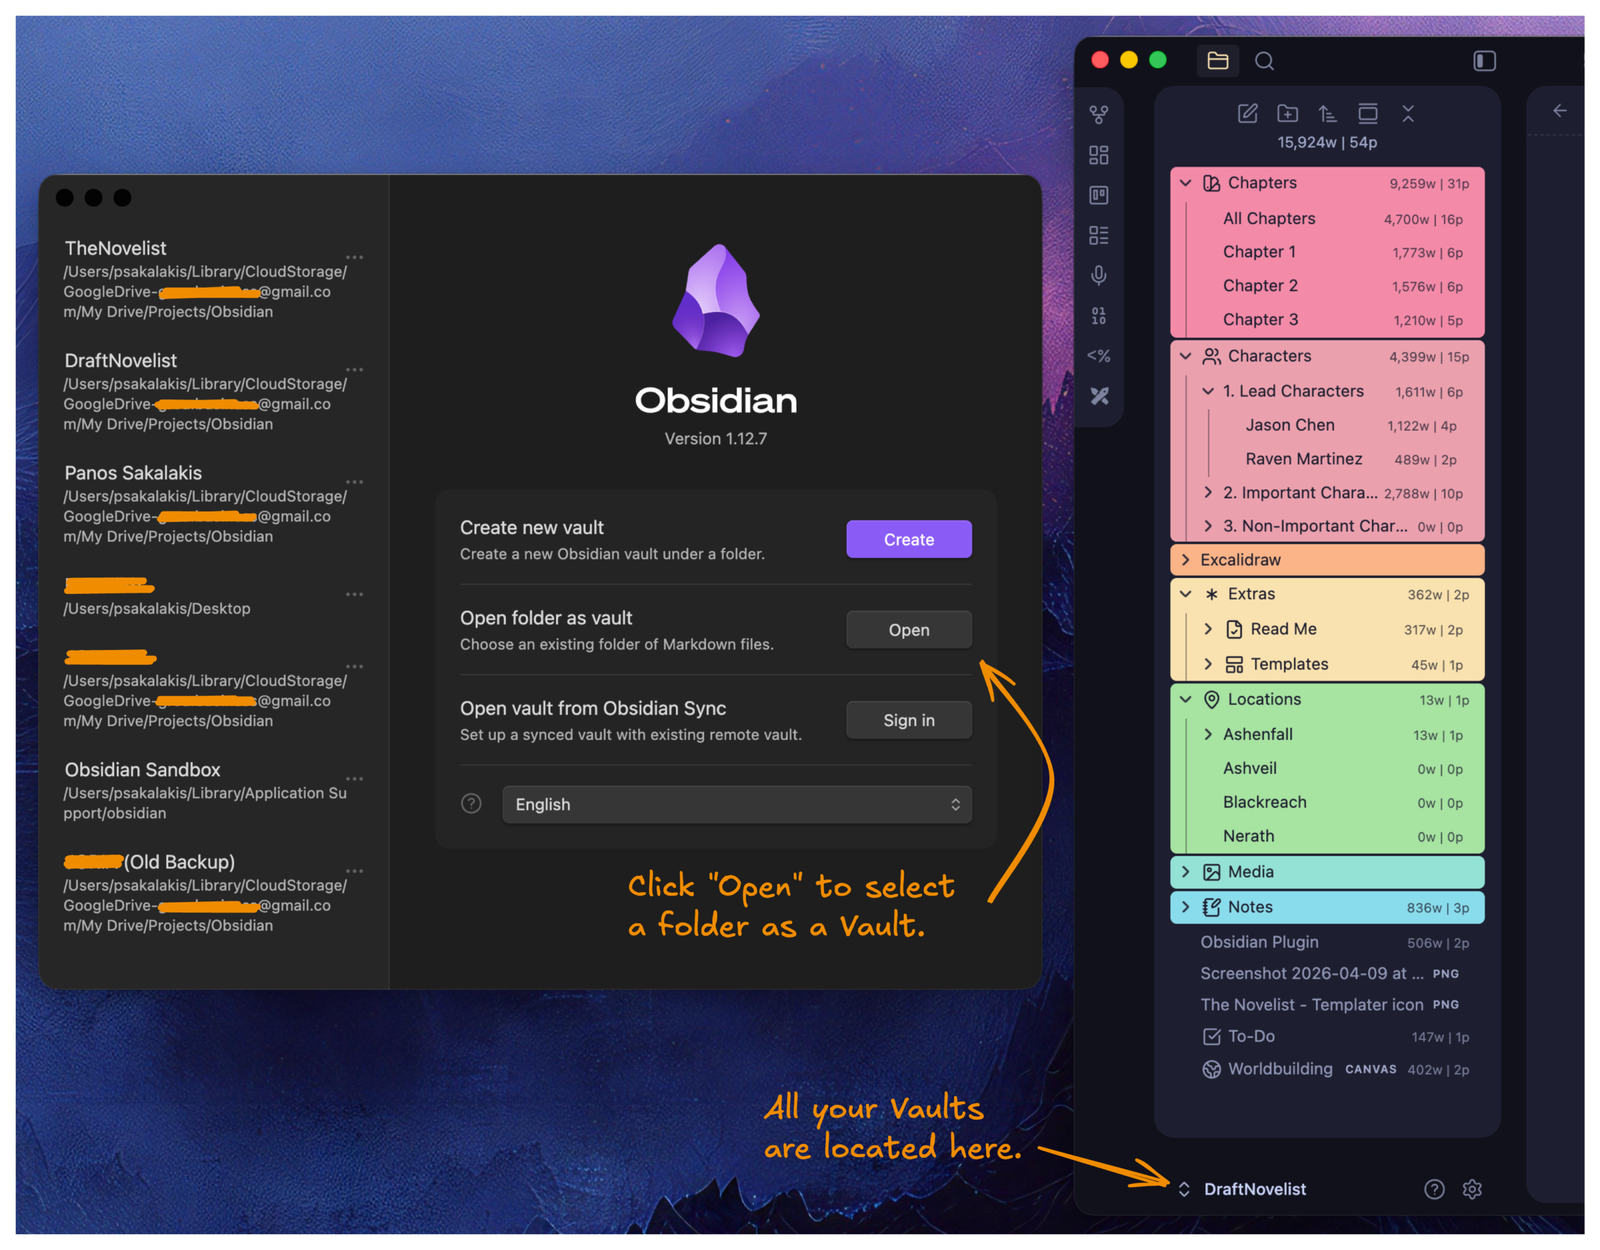

Welcome to ‘The Novelist’ Vault!
Quick tip: If you’re using Google Drive, Microsoft OneDrive, Dropbox, or any other cloud platform that has a native application that you installed on Windows, macOS, or Linux, then you can select to store your Vaults there, and it will automatically synchronize everything. Alternatively, you can store them wherever you like, whether that’s a cloud server, your disk, an external disk, or even a USB device.